Install Samsung TV Plus Kodi Addon: Getting Samsung TV Plus onto Kodi is surprisingly painless once you know the ropes, and honestly, it feels a bit like unlocking a secret level in a game you’ve played a hundred times. Whether it’s a FireStick gathering dust on the shelf, an Android phone that doubles as a mini theater, or a PC that’s already groaning under too many apps, this addon plays nice with pretty much everything Kodi supports. Compatibility isn’t a headache either—Kodi 21 Omega, 20 Nexus, even 19 Matrix—Samsung TV Plus just slots right in, like it was always meant to be there. It’s one of those rare setups that actually works without endless tweaking, and once it’s running, it almost makes the hours spent scrolling through streaming services feel like a warm-up for something way cooler.
What Is Samsung TV Plus?
Samsung TV Plus is basically Samsung’s free little treasure chest of live TV, giving access to channels from the US, UK, Canada, and a bunch of other places without asking for a credit card or sneaky subscription. It’s the kind of thing that makes you wonder why more people don’t use it—63 categories of content ranging from hard-hitting news and true crime to laugh-out-loud comedy, international shows, and even movies, so there’s genuinely something for everyone. Once mostly locked to Samsung TVs and Galaxy devices, it’s finally escaped into the wider world via Kodi, which is fantastic for anyone who wants a legit, diverse streaming experience without spending a dime or jumping through hoops.
Best Free Sports Streaming Sites
Is Samsung TV Plus on Kodi Safe and Legal?
It’s totally fair to be wary of addons outside Kodi’s official repo, and Samsung TV Plus lands squarely in that gray area, coming from the SlyGuy Repository—a developer that’s earned a decent amount of trust for sticking to legal streaming stuff. The addon itself is legit, free, and scans for malware come back clean, but let’s be honest, there’s always a little nagging “what if?” when it’s not officially endorsed. That’s where a VPN like ExpressVPN swoops in, quietly making everything safer, keeping your streaming private, and giving that extra peace of mind that the digital world usually forgets to offer. It’s one of those rare tech moments where you can actually feel cautious without killing the fun.
How to Download Samsung TV Plus Kodi Addon APK
- Kodi starts paranoid, like it’s been burned before
- Third-party add-ons need permission, so we flip one switch and move on
- From the Kodi home screen, tap the tiny gear in the top-left
- Drop into System, the place where Kodi hides the important stuff
- On the left, open Add-ons
- On the right, toggle Unknown sources to ON
- Read the warning, nod like a responsible adult, hit Yes
- Door unlocked, chaos avoided
Install the SlyGuy Repository
- This is where SlyGuy Repository enters the story
- Without it, Samsung TV Plus isn’t happening
- Back to the home screen, hit the gear again
- Open File Manager, Kodi’s filing cabinet of mysteries
- Click Add source on either side, it truly doesn’t matter
- Select <None> and paste the SlyGuy repository URL
- Name it something obvious like slyguy so future-you isn’t confused
- Confirm with OK, then confirm again because Kodi loves commitment
- Return to Settings and open Add-ons
- Choose Install from zip file
- Kodi 19 complains, Kodi 20 stays quiet, both work
- Select slyguy from the list
- Click repository.slyguy.zip and wait a beat
- Installation notification pops up, small win secured
How to Install Samsung TV Plus Kodi Addon 2026
With the repository installed, you can now proceed to install the Samsung TV Plus addon itself.
Steps:
- From the same Add-ons screen, pick Install from repository—because we’re not done clicking yet.
- Scroll through and select SlyGuy Repository—the trusted home of legal, hassle-free addons.
- Open Video add-ons—where all the streaming magic lives.
- Scroll down the alphabetical list until you spot Samsung TV Plus and select it—think of it as finding that one hidden gem in a messy library.
- Click Install on the addon info screen—this is the button that makes the magic happen.
- Kodi will now download and install the addon—grab a coffee or mentally high-five yourself while waiting.
- When it’s done, a little notification will pop up in the top-right corner saying Add-on installed—success, small but deeply satisfying.
And just like that, Samsung TV Plus is tucked into Kodi, ready to stream a ton of free live IPTV channels without the usual tech headaches. It’s the rare setup that actually works on the first try—no cursing at error messages, no “why isn’t this working?” moments. From here, it’s easy to poke around, find your favorite channels, or even pin it to the Kodi home screen so binge-watching is always just one click away—because honestly, convenience is everything.
How to Stream on FireStick with a VPN
Before you start streaming In Firestick, I would like to warn you that everything you stream on firestick is visible to your ISP and Government. This means, streaming copyrighted content (free movies, TV shows, live TV, and Sports) might get you into legal trouble.
Thankfully, there is a foolproof way to keep all your streaming activities hidden from your ISP and the Government. All you need is a good VPN for FireStick Streaming. A VPN will mask your original IP which is detecting… and will help you bypass Online Surveillance, ISP throttling, and content geo-restrictions.
I personally use and recommend ExpressVPN, which is the fastest and most secure VPN. It is compatible with all kinds of streaming apps and devices.
NOTE: We do not encourage the violation of copyright laws. But, what if you end up streaming content from an illegitimate source unintentionally? It is not always easy to tell the difference between a legit and illegal source.
So, before you start streaming on FireStick, here's how to get VPN protection in 3 simple steps.
-
Step 1 Get the ExpressVPN subscription
Get it HERE. It comes with a 30-day money-back guarantee. Meaning, you can use it free for the first 30-days and if you are not satisfied, you can ask for a full refund.
-
Step 2 Download and install the ExpressVPN app
Click HERE to download and install the app on your streaming device. If you are using a FireStick, I have given the exact steps starting with Step 4 below.
-
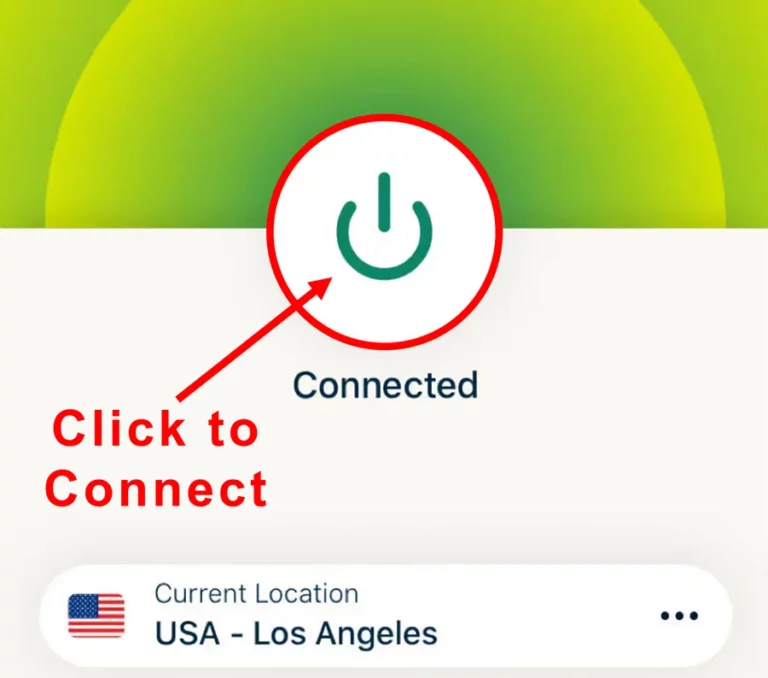
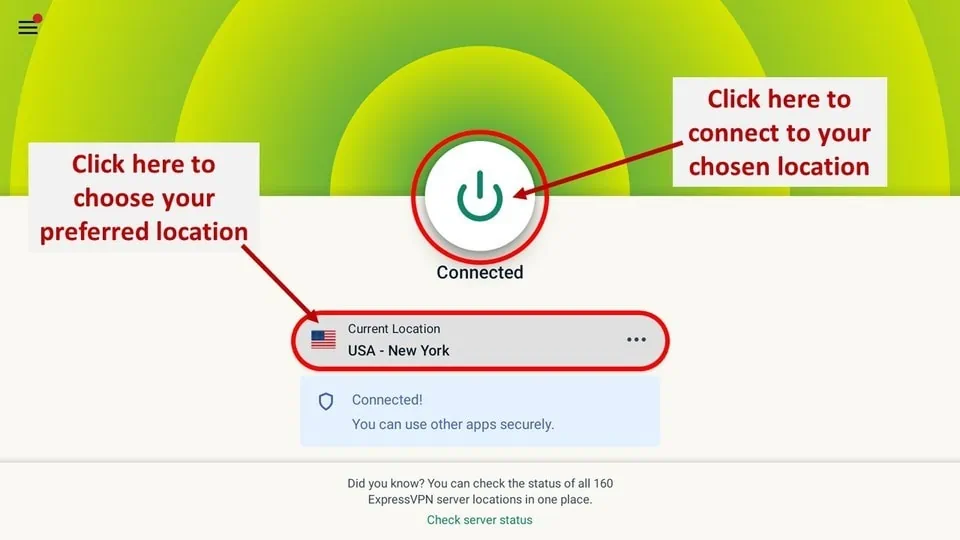
Step 3 Click the Power icon to connect
Your connection is now secure with the fastest and best VPN for FireStick.
The following are the steps to install ExpressVPN VPN on your Fire TV devices. If you have other streaming devices, follow Step 1-3 above.
-
Step 4 Subscribe to ExpressVPN
Subscribe HERE (if not subscribed already).
-
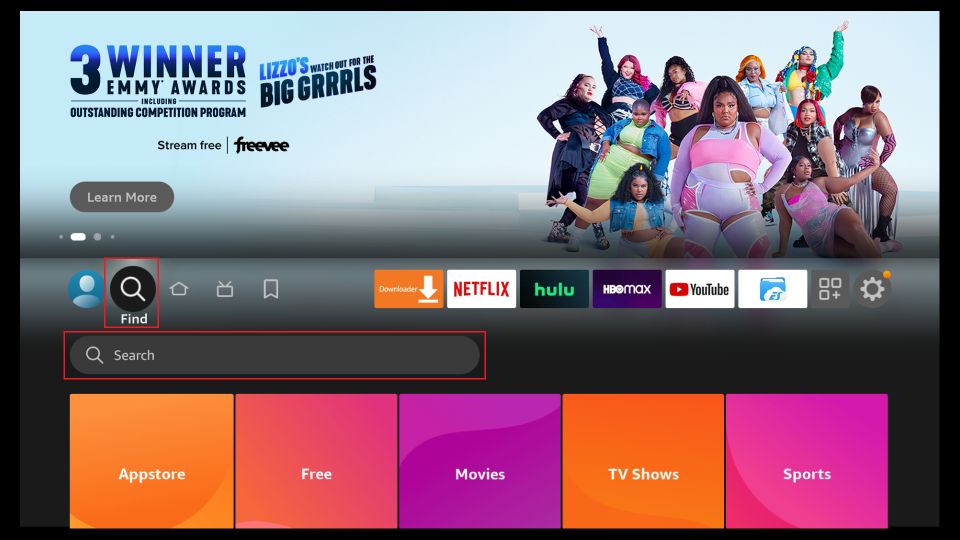
Step 5 Go to Fire TV Stick home screen.
Click Find followed by Search option (see image below).
-
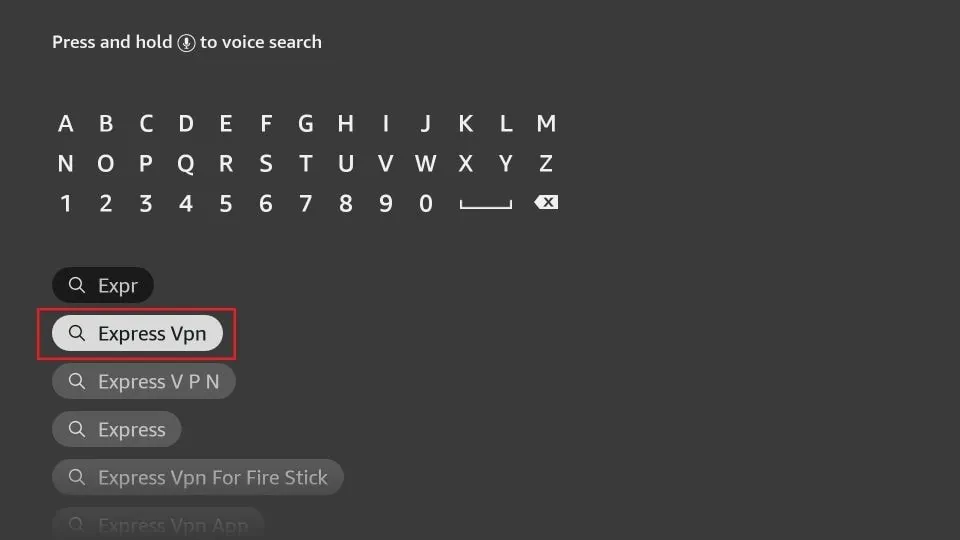
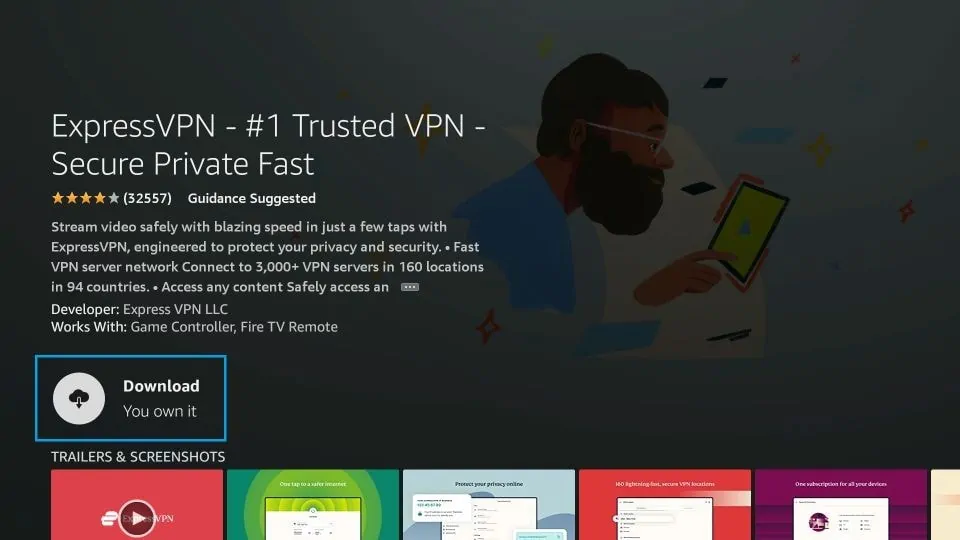
Step 6 Type Expressvpn in the search bar and select when it shows up
-
Step 7 Click Download
-
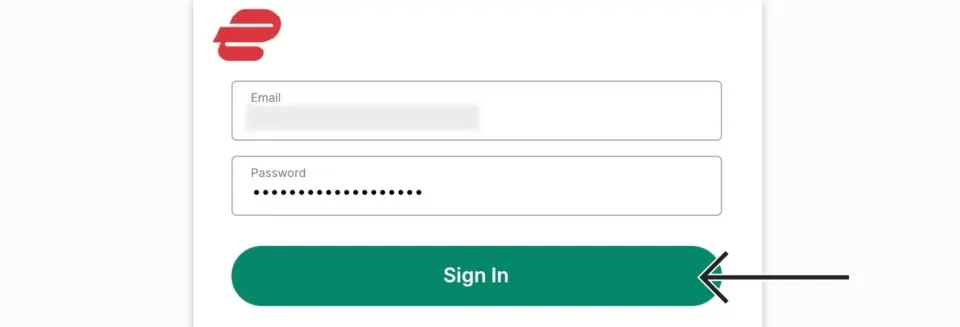
Step 8 Open the ExpressVPN app
Sign in using the email ID and password that you created while buying the ExpressVPN subscription.
-
Step 9 Click the Power icon to connect to a VPN server.
That’s all. Your FireStick is now secured with the fastest VPN.
How to Use Samsung TV Plus on Kodi
- Samsung TV Plus being free feels illegal in the best way
- Hundreds of live channels, zero signup drama, zero cable guilt
- One of those rare things that makes scrolling feel productive instead of regretful
- From Kodi’s home screen, slide into Add-ons
- Head straight to Video add-ons, where the good stuff actually lives
- Spot Samsung TV Plus sitting there quietly, pretending it’s not about to eat your time
- Click it once and the addon fires up, no loading-loop nonsense
- The home screen keeps it refreshingly dumb in a smart way
- Four choices only: Live TV, My Channels, Search, Settings
- No maze of menus, no design flexing, just “what do you want to watch” energy
- Channel surfing feels oddly soothing, like flipping TV in 2005 but without commercials screaming at you
- Clean layout, fast navigation, zero learning curve
- The kind of interface that respects attention spans and rewards curiosity
Exploring the Live TV > All Folder
Let’s begin by exploring the Live TV section of the Samsung TV Plus addon, where you can find all the available channels.
Within this section, there are 12 folders representing different regions supported by the addon. Here’s the full list of channel regions you’ll find on Samsung TV Plus:
- All
- Austria
- Canada
- France
- Germany
- Great Britain
- India
- Italy
- Korea
- Spain
- Switzerland
- USA
Let’s take a closer look at the All folder. The number beside it indicates the total channels available—in this case, 1,016. Inside the All folder, channels are further organized into 63 genre folders such as Comedy, Crime, Entertainment, and more. You can browse any genre to see the channels it includes. For example, in the Comedy folder, there are 20 live TV channels listed, each with its specific channel number within Samsung TV Plus. Feel free to explore the folder for the full lineup. Next, if you head back to the All folder and select Sports, you’ll discover 65 channels dedicated to sports content—perfect if that’s your interest!
Exploring Live TV > Regional Folders
Hopping into the Live TV section is honestly kind of thrilling—the USA folder alone crams in around 200 channels, enough to make scrolling feel like a mini cardio session. Every region folder splits further into up to 17 subfolders, neatly labeled by genres like Comedy, Crime, Entertainment, Gaming, Kids, International, and Movies—basically a menu for whatever vibe strikes. Watching a channel is refreshingly painless: click, pick the playback quality, and disappear into a rabbit hole of endless options—messy, chaotic, and somehow totally satisfying.
How to Search for Channels on Samsung TV Plus
- Need a channel fast? Samsung TV Plus has a built-in search that’s surprisingly lifesaving.
- From the addon’s home screen, hit Search—don’t worry, it’s not buried anywhere.
- Click New Search and type in the channel name or a keyword. For example, typing “fail” pulled up everything matching that term in seconds.
- Hit OK, and just like that, all the relevant channels pop up—no endless scrolling, no frustration, just instant gratification.
Exploring Samsung TV Plus Settings
- Open Settings from the Samsung TV Plus home screen—this is where the magic of customization lives.
- You’ll land on the Look & Feel tab first, where the app’s appearance can be tweaked to your taste—because why settle for boring?
- The Playback tab is next, letting you pick your default streaming quality so you’re not constantly fiddling mid-show.
- Live TV and EPG is where any IPTV services you subscribe to get merged; just hit Setup IPTV Merge and you’re good to go.
- Hit a snag? The Advanced tab has a Reset Add-on button to restore everything to default—basically a “do-over” for when things go sideways.
Final Thoughts
Calling Samsung TV Plus just “good” feels like an understatement—it’s a treasure trove of free channels spanning every genre imaginable, from local favorites to international gems. If anything in this guide sparks questions, curiosities, or random feedback, drop a comment below. And seriously, share which channels make you hit “repeat” the most—because streaming should be fun, chaotic, and totally guilt-free. Happy bingeing, and here’s to loving the sweet life of cord-cutting!